-Custom R/C Cars and Trucks  -R/C Video's  -Online Subscriber Showroom   
-R/C Online Community Networking Group

Radio Control Car Enthusiasts Welcome!


Wednesday, November 24, 2010

Peeling the paint off....... (Part 2)

Photobucket
-After letting the body sit over night, about 24 hours. I am ready to remove the cloth around the body.

Photobucket
- Seen here as I pull off the cloth film the paint literally comes off it like a skin. this reduces a fare amount of work getting rid of the paint off the surface, instead of sanding everything.

Photobucket
-Using a course sponge I "wash" the body and help peel more of the paint off by using a little effort and making sure I can scrub everything I can before I neutralize the brake fluid on the surface.

Photobucket
- Once i'm happy with all the scrubbing I can do and remove all the paint I can, it's time to rinse off the body. I used Hot water and gave the body and nice hot rinse.

Photobucket
- I have added a step here, to make sure the paint and primer stick to the body, you have to neutralize the brake fluid and the chemical reaction that has been occurring. By using a mild degrease soap with hot water this will remove all the residue from the brake fluid and get the body clean enough for paint preparation. I would take your time here because the more you clean, the better outcome your going to get.

Photobucket
- As you can see, this method of paint removal is fairly easy and less "effort" than just dry sanding an entire body and re-priming and painting. However, even in this stage I have used some sand paper to grab the areas the brake fluid didn't. This isn't a big deal, because it really didn't take long to scuff up the un-treated areas.

Photobucket
- Once this is done, I'm ready to prep the body for primer and paint.

Photobucket
- I wasn't sure at first if this was going to work, but like I said I did a lot of research and asked the right people (even the people that make the brake fluid I used) and asked the right questions and was happy with the answers.
It's honestly worth trying with your next hard body. Always do this with a test area first and see for yourself. Now instead of spending all my nights this week sanding, filling pits and scratches here and there.... I have the body down to the bare bone and I can already take primer to it.

I will be posting pictures later on of the body completed in the "primer" stage. BUT remember R/C Modz Fans, I still need your help! I need paint scheme ideas. So, submit me your thoughts and paint ideas. If I use it and feature it on my blog you get a FREE R/C Modz Full Throttle fridge magnet! Why not right???

_______________________
-(Admin)
R/C Modz Full Throttle
Christopher Oswald

Tuesday, November 23, 2010

Peeling the paint off.......

Photobucket

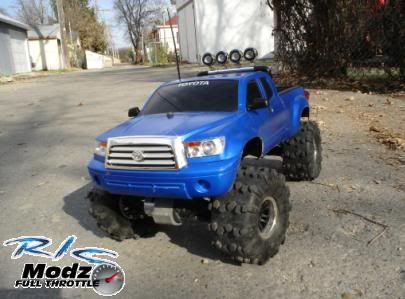
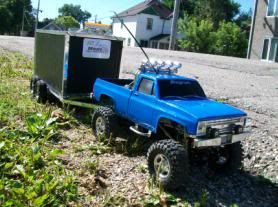
Back in around March of just last year (2009) I was able to finally purchase my own Tamiya Toyota Highlift Hilux. All up until now I have had the original paint job. Treated the truck pretty good, had some good fun runs with it. While the truck itself has proven to be tough and a great project to work on, the body has been neglected. It was my goal for over the winter to re do the body.

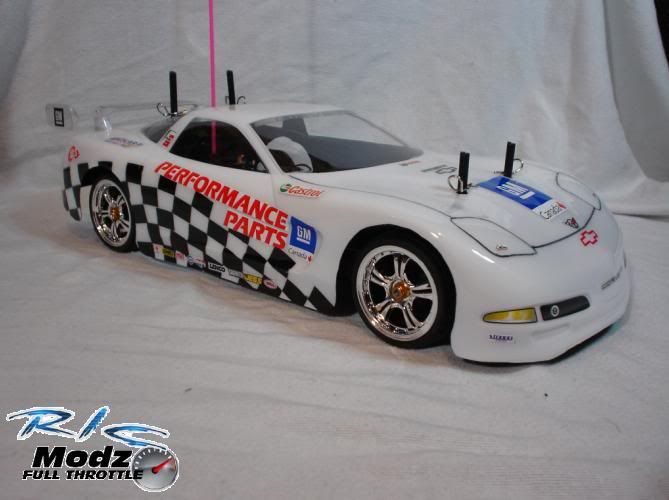
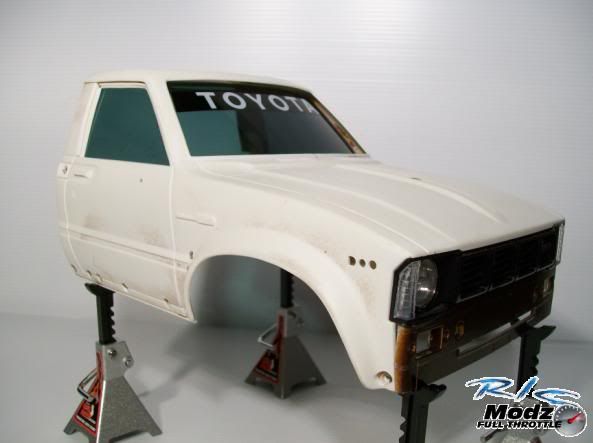
Here is what it looked like when I first painted it.

Photobucket

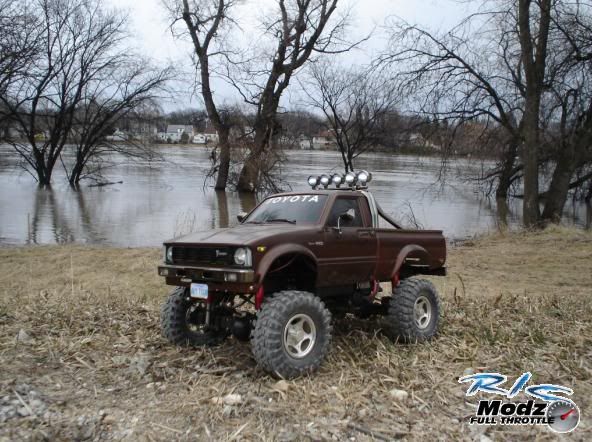
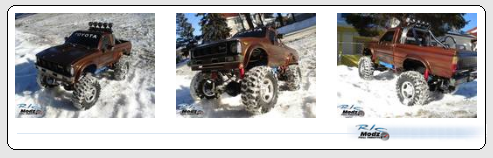
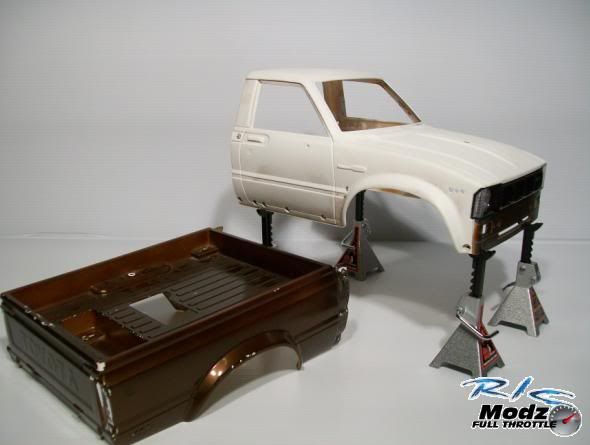
Ok, so I did a brown copper late 80's type of color attempt. I think I did it pretty good, but as time has shown even with great automotive paint techniques and finish, the body has seen better days. So the "Project Hilux Re-Born" has started.


Here is a step by step progress report on how I went about re-painting this body.

READ EVERYTHING CAREFULLY!!!
Don't just look at the pictures ;)

I have done a large amount of research and asked around on this topic. What I'm about to show you I will admit I was skeptical of this method.
So I thought I would try it after carefully investigating the results of fellow colleges and read all the information necessary for positive results.

I have re-painted countless hard bodies, My clod buster body on my TLT is a good example. I have sanded and primed that thing to death. I have even stripped it down using spray oven cleaner. This was fairly harsh and caused a risk of high odor and needed to be outside and in well ventilated area. Plus I had to soak the body down in cleaner a few times for good saturation. I really wanted to find another way of removing the paint. I have spent hundreds of hours sanding these bodies as well, and this is effective it takes forever and still doesn't always go "smoothly".

I have heard of guys using automotive brake fluid to strip hard plastic bodies. I was skeptical so I did some research and perfected a way for this method of paint removal on hard tamiya plastic bodies. I know personally from personal experience in the automotive industry that having brake fluid on your paint job will eat your clear coat and wreck your paint. So this method did sound like it could work.

Here is how it goes.

PART 1:

Photobucket
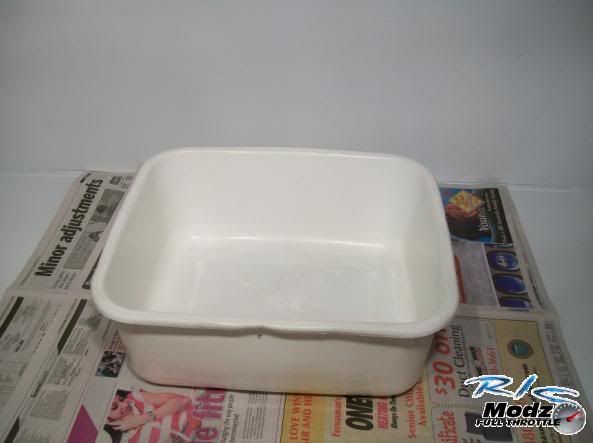
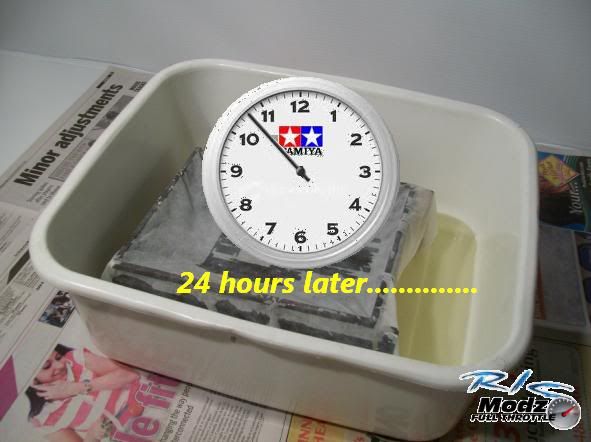
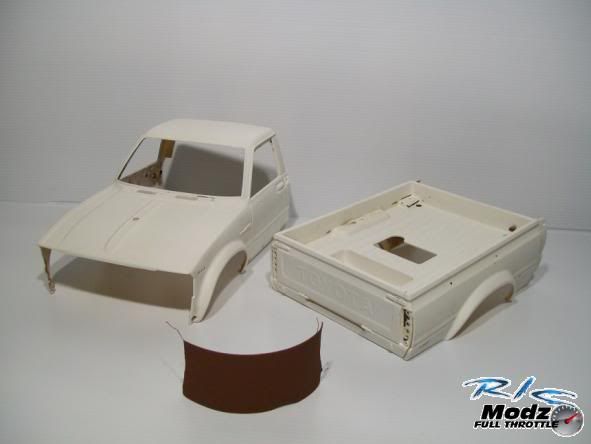
- I have a clean area to work in, with newspaper down on my work surface (just in case) and I'm using a plastic tub style container to do the body. I didn't have one big enough to do the whole body, so I'm doing it in sections. The hilux body really only comes in two big pieces so this didn't take long.

Photobucket
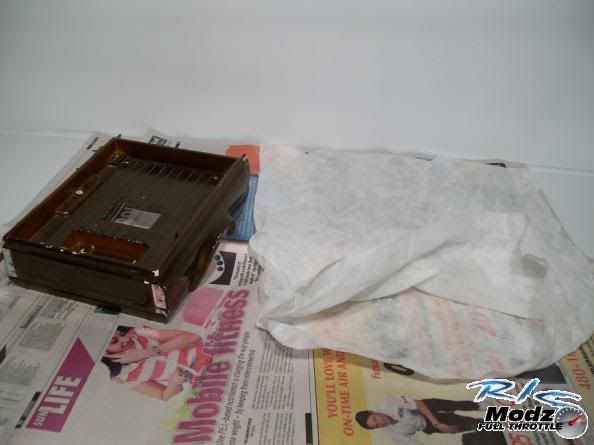
- The research I did has the "whole" body soaking in a pail of brake fluid. I don't think that this is necessary so I have used this woven pocket type thin cloth. I picked it out of some warehouse box packing at work.

Photobucket
- I placed the rear of the body inside the cloth pocket and tucked in the extra parts under the body. placed it inside the tub container.

Photobucket
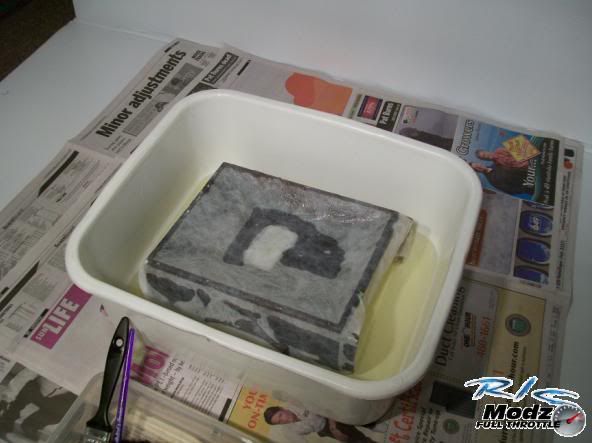
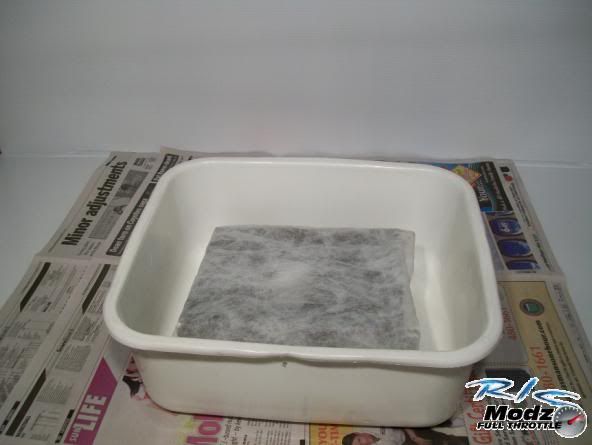
- Adding the automotive brake fluid (Dot 3 works best) to the situation only adding enough to help create a small "pool" under the body to sit in.

Photobucket
- Using a clean paint brush I "coated" the outer cloth and saturated the cloth all around the body. Keeping the cloth "wet" will keep the brake fluid on the surface of the body.

Photobucket
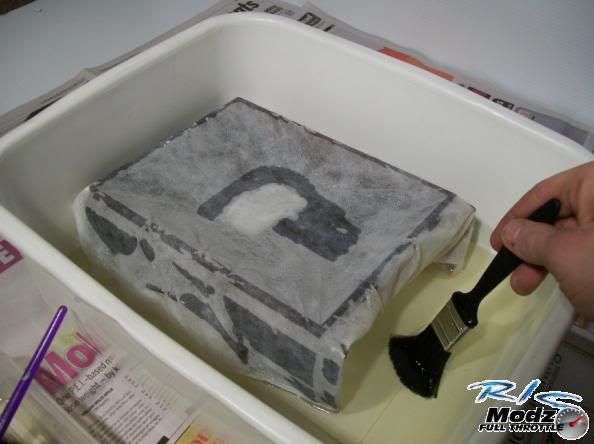
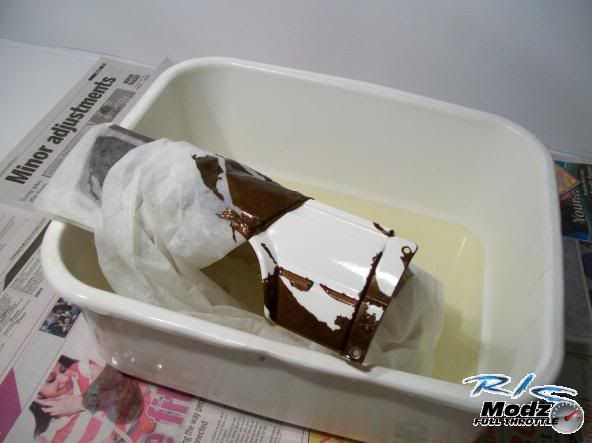
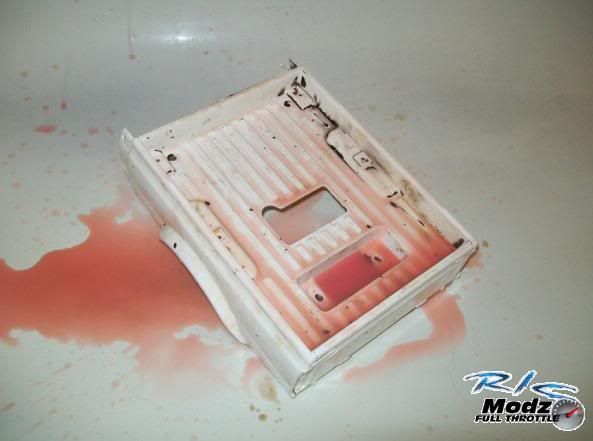
- Let this soak over night, and for at least 24 hours. By the next day around the same time you started you will be able to peel off the cloth and the magic happens.
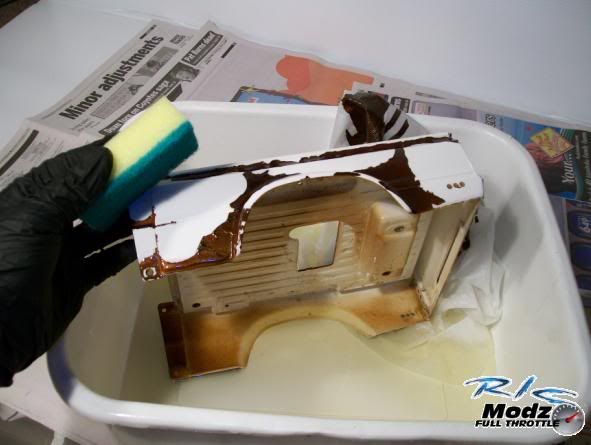

PART 2:

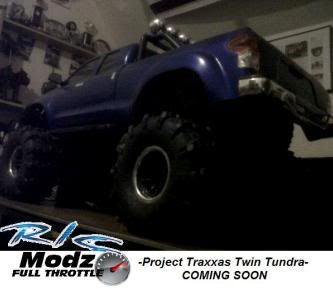
To see what happens next STAY TUNED and see the step-by-step results for yourself.
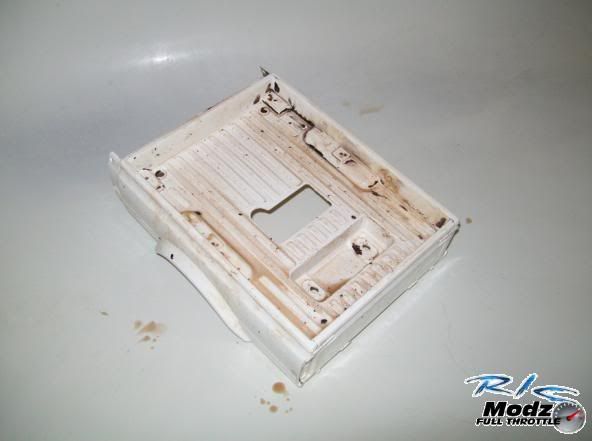
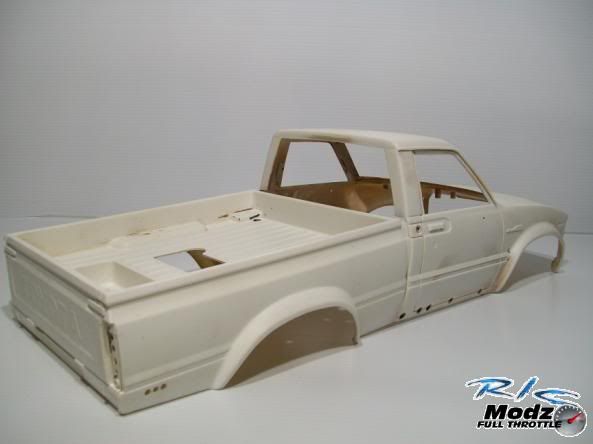
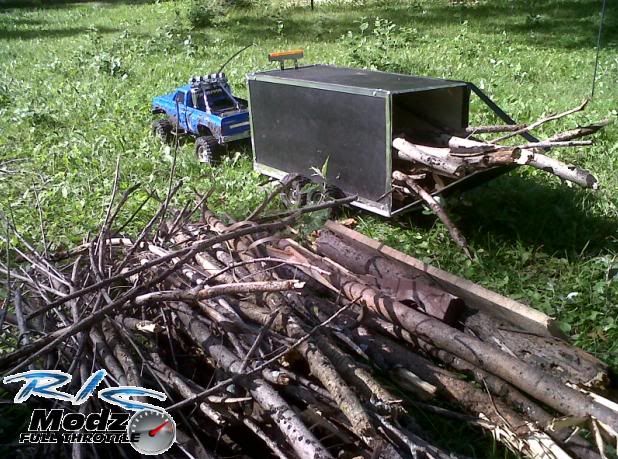
I'll show you what to do after the soak, and how to treat the body after it's bath and how to clean the body up after. The truck bed is soaking now, so in the day or two I will post what happens after the soaking procedure.


Here is what I had just before writing this article:

Photobucket

*Disclaimer: I have been told that the brake fluid will make the body more brittle and cause it to fracture. I DO NOT see, or feel this anywhere on the body. It feels just as it did the day I took it out of the box, however I could see this on OLDER tamiya bodies, in which case it's probably brittle and fragile anyway and you just have to use caution when treating any old hard Tamiya body. In this case, I inspected the body closely and found no reason not to pass this method along. I wouldn't tell you to do it if I didn't do it myself, and didn't think it would work.


Photobucket

I was skeptical, but I have tried it for myself and results are very pleasing.


R/C Modz Full Throttle Fans!:
I hope you enjoyed this article, and now I need your help R/C Modz Fans!
I want you to submit me YOUR, yes I said YOUR paint ideas. I've searched around the net and just can't decide what to paint it next. So, here is where you can help me out. If I choose YOUR paint idea and feature it here on my Blog you will receive a FREE R/C Modz fridge magnet! So come on, I've been told once advice and thoughts have been worth two cents in the past, so why not get something free for it!


Submit your ideas here!!!


_______________________
-(Admin)
R/C Modz Full Throttle
Christopher Oswald

Friday, October 15, 2010

Tamiya TT-01 makes a come back.

Photobucket
In the middle of waiting on HPI Racing to come out with the clear 2010 Camaro body, I figured I'd get back into the swing of things (as far as body painting goes) and do up a nice original corvette body. I chose the GM Performance racing theme. Decals courtesy of GM Canada. I also had some nice Parma racing decals around. This is my first attempt at a racing checker flag design. I don't think I did to bad for masking off each checker. (lol) The chassis is my Tamiya TT-01. I've done some chassis and suspension upgrades, along with a metal center drive shaft upgrade. Making this my TT-01 Race Spec. Shown here and on the website with the new Dynamite Racing slicks and radial rubber, I did however build the car to spec for carpet racing. Foam tires (not shown) will be used for this years carpet season. I'm running a 75mhz Futaba radio and receiver for now. I will be upgrading to 2.4 shortly. The motor is a Stock Epic armature with modified brushes and springs. Powering it will be my Novak Duster II ESC. I know, a little old but still works great and doesn't have reverse. We all now reverse is illegal in racing, and well... My finger has slipped a time or two before the track marshal has been able to grab me. :)

Saturday, October 9, 2010

HPI Racing - 2010 Camaro

Photobucket

We have been waiting A LONG TIME for this one. Fresh from HPI Racing Japan, the new 2010 Chevrolet Camaro body kit. No part number or price yet, but the estimated cost by our HPI Racing insider will be around the $30-$35US mark. Our local hobby store has put them on order, and R/C Modz Full Throttle will be doing a upcoming 2010 Camaro Project. You can have the body today, but only in the HPI Sprint 2 DRIFT RTR edition. We want the shell HPI.

Behind the R/C Modz Full Throttle scene I myself enjoy my career as a General Motor Technician. It's no wonder my eye's bugged out my head when I had seen this. Working under the Chevy brand myself, this one has to become one of my collection.
I know what some of you might be thinking.... "oh here we go, your gonna paint it yellow and put black strips on it."
-Nope.

This project will get the "special" attention like it's full size real life version. (I dropped and hint there) ;)


Photobucket

Stay tuned!

_______________________
-(Admin)
R/C Modz Full Throttle
Christopher Oswald

Project Twin Traxxas Tundra - Custom

Photobucket
It's a beautiful start to October, and nothing better than finishing up a fun little project before the winter. Project Twin Tundra, based of the popular Traxxas Stampede is another addition to the R/C Modz Garage. This Twin motor, Duel battery and 14.4 volt driven truck was a blast to drive around. Check it out.

_______________________
-(Admin)
R/C Modz Full Throttle
Christopher Oswald

Wednesday, September 22, 2010

Photobucket
This Fall-Winter Project is the All NEW "Traxxas Twin Tundra" Based on a secret chassis concept, it's been researched and what we found on previous versions has only been made better, more accurately engineered and is going to be an awsome truck to drive. More details are not being released yet. But what we can tell you is that in recent days the decision has been made not only to follow through with a duel motor setup, but duel battery as well. That's all we can get out right now, but as the weeks roll by, and winter fast approaches, there will be more details on this highly anticipated, fan requested Traxxas Project for fall 2010.
_______________________
-(Admin)
R/C Modz Full Throttle
Christopher Oswald

Thursday, September 16, 2010

Getting down to work for the end of fall 2010.

Photobucket

Photobucket

The air is getting crisper and the leaves are changing. So I packed the car with the wife, our 3 dogs and went to the lake for the end of the season. Brought along a few toys, one of which was our R/C Modz Full Throttle Hauler Trailer Project. This thing is real fun to drive, and works great for hauling wood for a nice fire on these cold nights. Figured that's one reason I built the trailer, the other was to haul around my 1/10th scale touring cars. My wife's Tamiya FF-02 Beetle and my 68' Chevy Camaro fits great.

The day was great as I set out to gather as much wood around our campsite and area around it as I could. The result was decent, and it only took two battery packs for the job at hand.

Check out this, and many other of my custom projects. You may have seen this project showcased as well at Tamiyacrawlers.com My fellow friends have in fact suggested some nice fenders for the trailer. That sounds like a good winter project along with re-doing the paint job itself on the TLT.

check out this showcase in our Modz Garage HERE
Hope you enjoy.

Tuesday, July 20, 2010

Photobucket
We are back at it again, It's the TLT-1 X-Trail Hauler Trailer.
We had the contest last summer, now it's been added to the Modz Garage.
Check it out!

Saturday, June 19, 2010

Photobucket
Chris here, summer is officially started, so get the R/C's ready for a summer of fun.
Over here at R/C Modz Full Throttle, we are having a nice relaxing start. Stay tuned for more custom project showcases and tips to help you on the next custom build you might have on your mind. Don't forget, I never turn down fan mail with build pics and info on your ride. If you want to get to know R/C Modz better, check out the
"Radio Control Car Club" on Facebook. You can also share shots of your ride there.

Cheers!

Thursday, January 14, 2010

Kicking up some snow....

Photobucket

Click here for Photo's and Project build status.


Chris here, so it's a new year and the weather has been great here is Winnipeg, Mb. Canada, (what a treat for mid-January) So why not enjoy it right? While I'm finishing up the Chevy X-Trail project and it's touch ups, I took my Tamiya Toyota Hilux High-lift for a well over do boot around outside. Only -5'C so I decided to kick up some snow. - Enjoy.

P.S..
The Tamiya TLT-1 Chevy X-Trail project will be back..... very soon.